Using recurring images can be difficult in LibreOffice. Of course, you can always add the image manually each time, but that can be distracting when you are writing. One way to semi-automate the process is to use a list style that is set up to display a picture rather than a bullet or a number.
Probably the most common use of this process is to add a tip or note to a technical document, formatting it differently from the main body of text so that it is emphasized. This process generally requires formatting a list style, one paragraph style for a heading, and another for the note itself.
Formatting the list style
Let’s start with the list style:
1. Press F11 to open the Styles and Formatting window,
2. Select the List Style icon right-clicking in the pane and selecting New from the drop-down menu. The Style window opens.
3. On the Organizer tab, name the new style Warning.
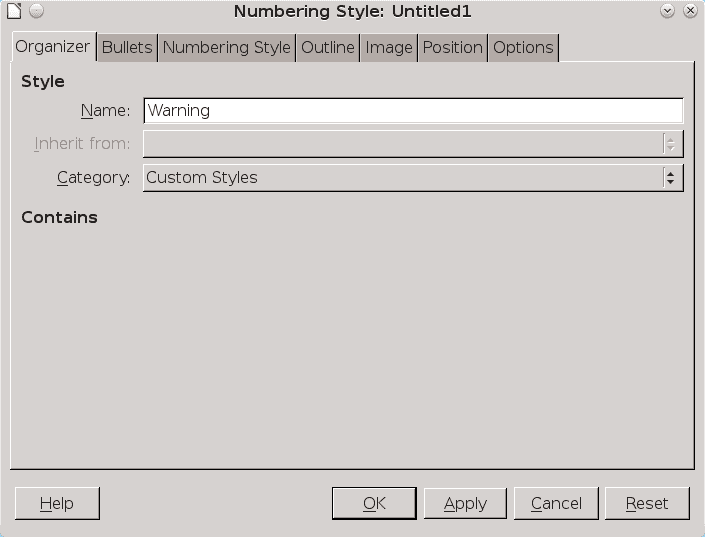
The first step is to name the list style.
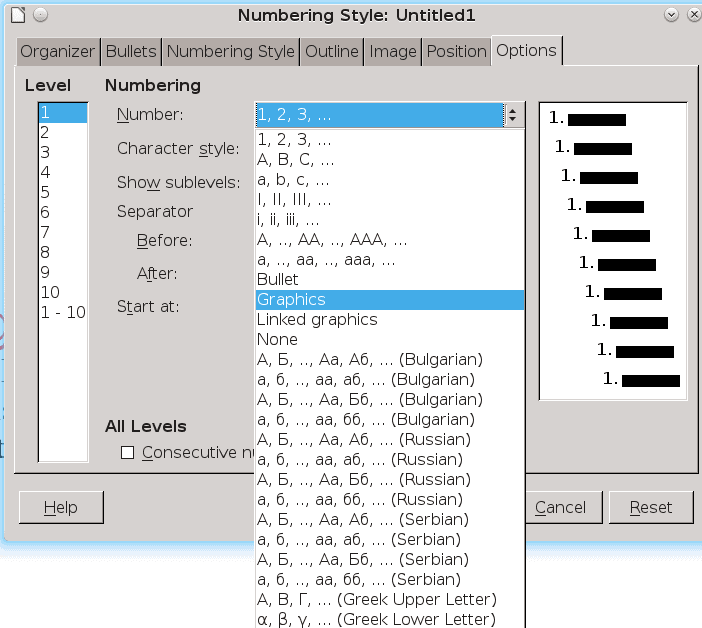
Selecting Graphics embeds the picture in the file. Selecting Linked graphics keeps the picture in a separate file.
4. On the Options tab, set the Number field to Graphics or Linked Graphics. If you select Linked Graphics, the graphics will be kept in a separate file rather than as part of the document. Linked graphics are harder to keep track of, but make the document easier to update.
5. Select the picture to use from the Graphics field. A search on-line will quickly give you hundreds of icons to choose from. Here, I am illustrating the technique with a Stop sign.
6. Use the Width and Height fields to set the size at which the picture will display. Check the Keep Ratio box so that changing either the width or height also changes the other.
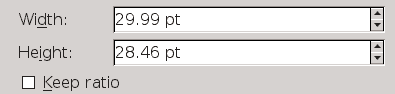
If you use the Keep ratio checkbox, you preserve the picture’s proportions, and only need to adjust one of the Width or Height fields.
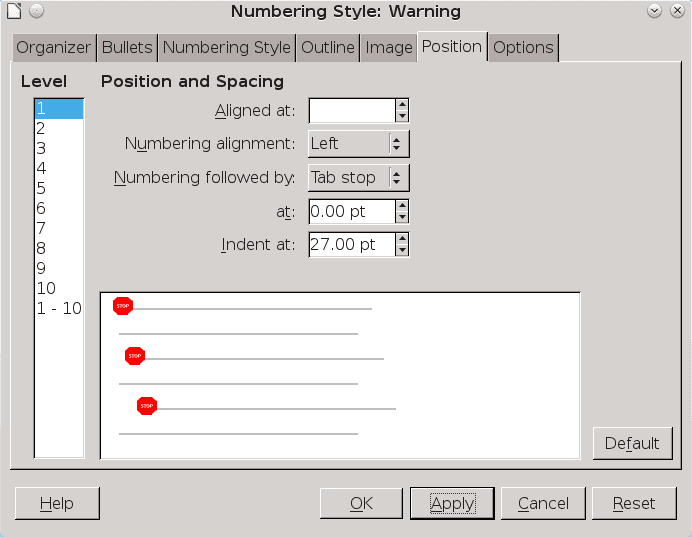
Use the Position tab to set the distance between the picture and the text.
7. On the Position tab, set the distance between the picture and the text on the same line using the Indent at field. Be careful not to set position the text too close or too far from the picture.
8. Make any other formatting choices, and press the OK button to finish.
Formatting the heading paragraph style
In numbered list styles, you could give the icon an automatic heading. However, by choosing a picture, you lose that option, so you need to create a paragraph style for adding the heading. The heading will ordinarily be on the same line as the picture:
1. Select the Paragraph Style icon from the Styles and Formatting window, right-clicking in the pane and selecting New from the drop-down menu. The Style window opens.
2. On the Organizer tab, name the new style Warning. Using the same name as for the list style will remind you later that the list style and paragraph style are used together.
3. Format the style, choosing the font and font size from the Font tab. Since you are designing a heading, it will generally be larger than the body text. Choose the font color from the Font Effect tab. Here, I have chosen a shade of red to match the stop sign.
4. From the Outline and Numbering tab, select the Warning list style from the Numbering style field.
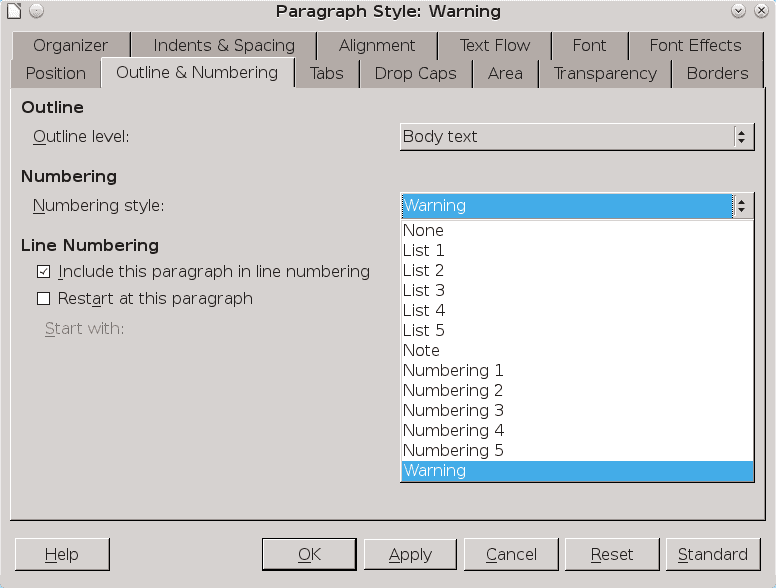
5. The picture will probably be larger than the font size. To avoid having the top of the picture cropped, set the Line Spacing on the Outline & Spacing tab using the At Least setting. Of course, this problem will not exist if you choose to place the picture and the heading on different lines, or add a picture without a heading.
6. Make any other formatting choices, and press the OK button to finish.
Creating the Note style
Now, you need a style for the body of the note:
1. Select the Paragraph Style icon in the Styles and Formatting window, right-clicking in the pane and selecting New from the drop-down menu. The Style window opens.
2. On the Organizer tab, name the new style Note.
3. On the Indents & Spacing tab, adjust the Before text field so that the text of the note starts with the same indentation as a heading using the Warning paragraph style. You may also want to adjust the After text field by the same amount of spacing to help the note stand out from the body text.
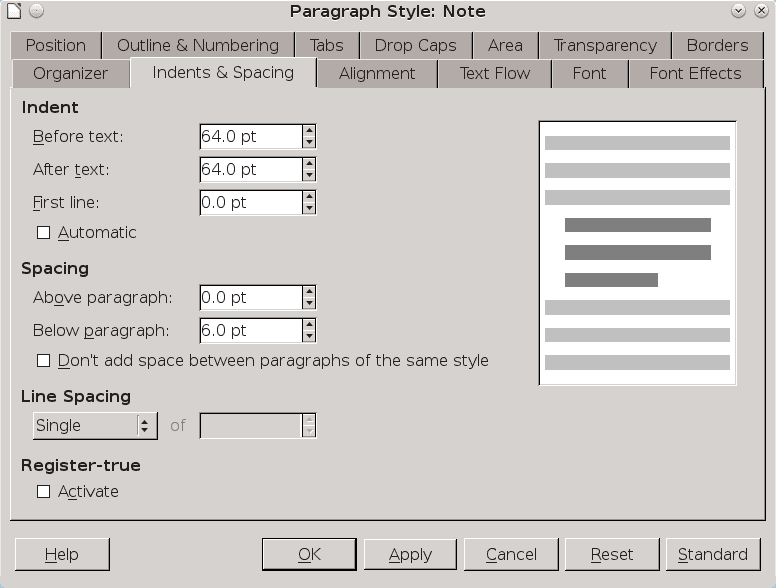
Indent the Note style so it stands out from the main text.
4. Make any other formatting choices. Press the OK button to finish.
Putting everything together
To add a note as you work, select the Warning paragraph style to automatically add the Warning icon in the proper position. You will have to add the heading yourself, but, once you do, pressing the Enter key automatically switches you to the Note paragraph style. Aside from the heading, the trouble of positioning the icon and the text is eliminated.
This technique can be modified in any number of ways. For example, if you want a logo at the top of every page, you can make and apply the list style, with no text beside it. However, to keep LibreOffice from deleting the logo, you will have to add a blank space beside it. You might also use a list style to add a design that indicates a break in the text, rather than use asterisks. Still another possibility is to design styles that adds a picture on title pages.
Whatever your needs, by using list styles in these creative ways, you can concentrate on what you are writing instead of worrying about the formatting.

The final Warning icon
Adapted from my forthcoming book, “Designing with LibreOffice”.
Cover image: Oops! 1 by Jessica Gale for the Morguefile.com.
[sharedaddy]