We have already established that Inkscape is the best thing since sliced-bread elsewhere on this site. But you’d be surprised at how useful it can be and, by combining different tools, how much time it can save.
Take the Clone tool (Edit > Clone > Create Clone or [Alt]+[D]) for example. You can duplicate an object with [Ctrl] + [D], but with clone you can duplicate and control what the duplicates will look like by editing the original. Want to change the colour and type of fill for 100 circles? Use clone and apply the changes only to the original. The 100 clones will inherit the changes.
Buttoning up
Let’s see how this can help you be creating a template for a web button with some funky effects.
Start by drawing a rectangle with rounded corners like the one you can see in Figure 1. Select it and press [Alt] + [D]. This will create a clone. Move the clone below the original and try and change its colour, stroke, transparency or whatever. Nothing happens, right?
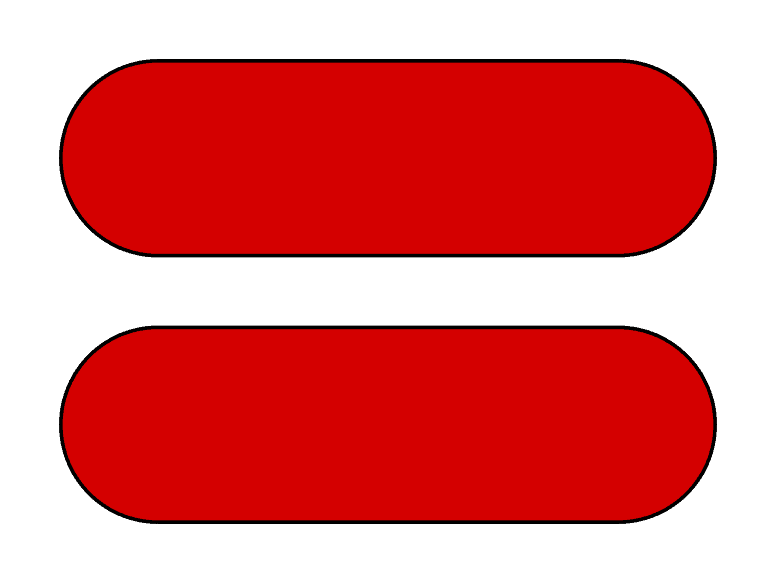
Figure 1: Draw two rectangles to use for your buttons.
Now change the colour and stroke of the original button. Hey presto! The changes are inherited by the clone (Figure 2). Useful for, say, when the project leader turns up and says he wants all the buttons on the new website to now be green. Useful, yes, but not exactly groundbreaking.
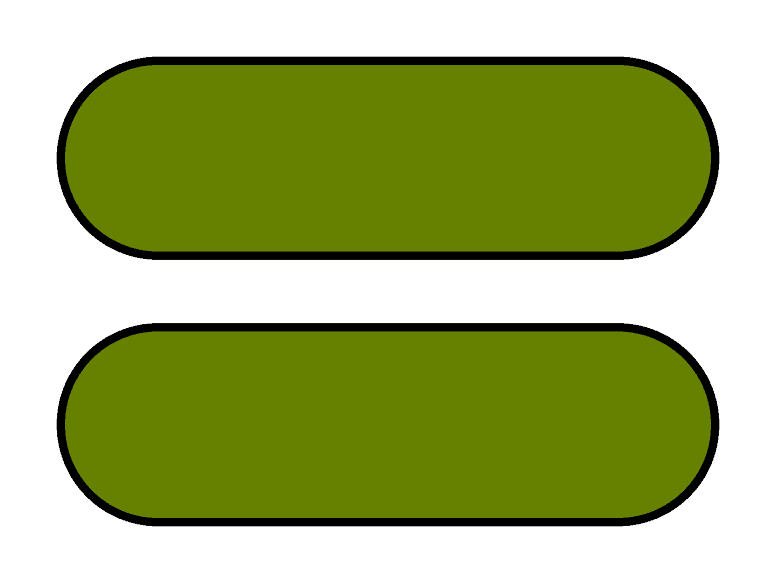
Figure 2: Changes to attributes of the original object cascade down into the cloned objects.
But, hold on, there’s more. Let’s label those buttons and animate them.
Create a text like the one shown in Figure 3. See the button with the question mark in the upper right hand corner in the screenshot? The one I have drawn a red square around? Click that. What that will do is unset the fill and stroke of the selected object (in this case the text). This means that, although we can still make clones of the object, the fill and stroke will not be inherited by the clones. We’ll see the advantage of this in a sec. For the moment, notice the text has now turned black.
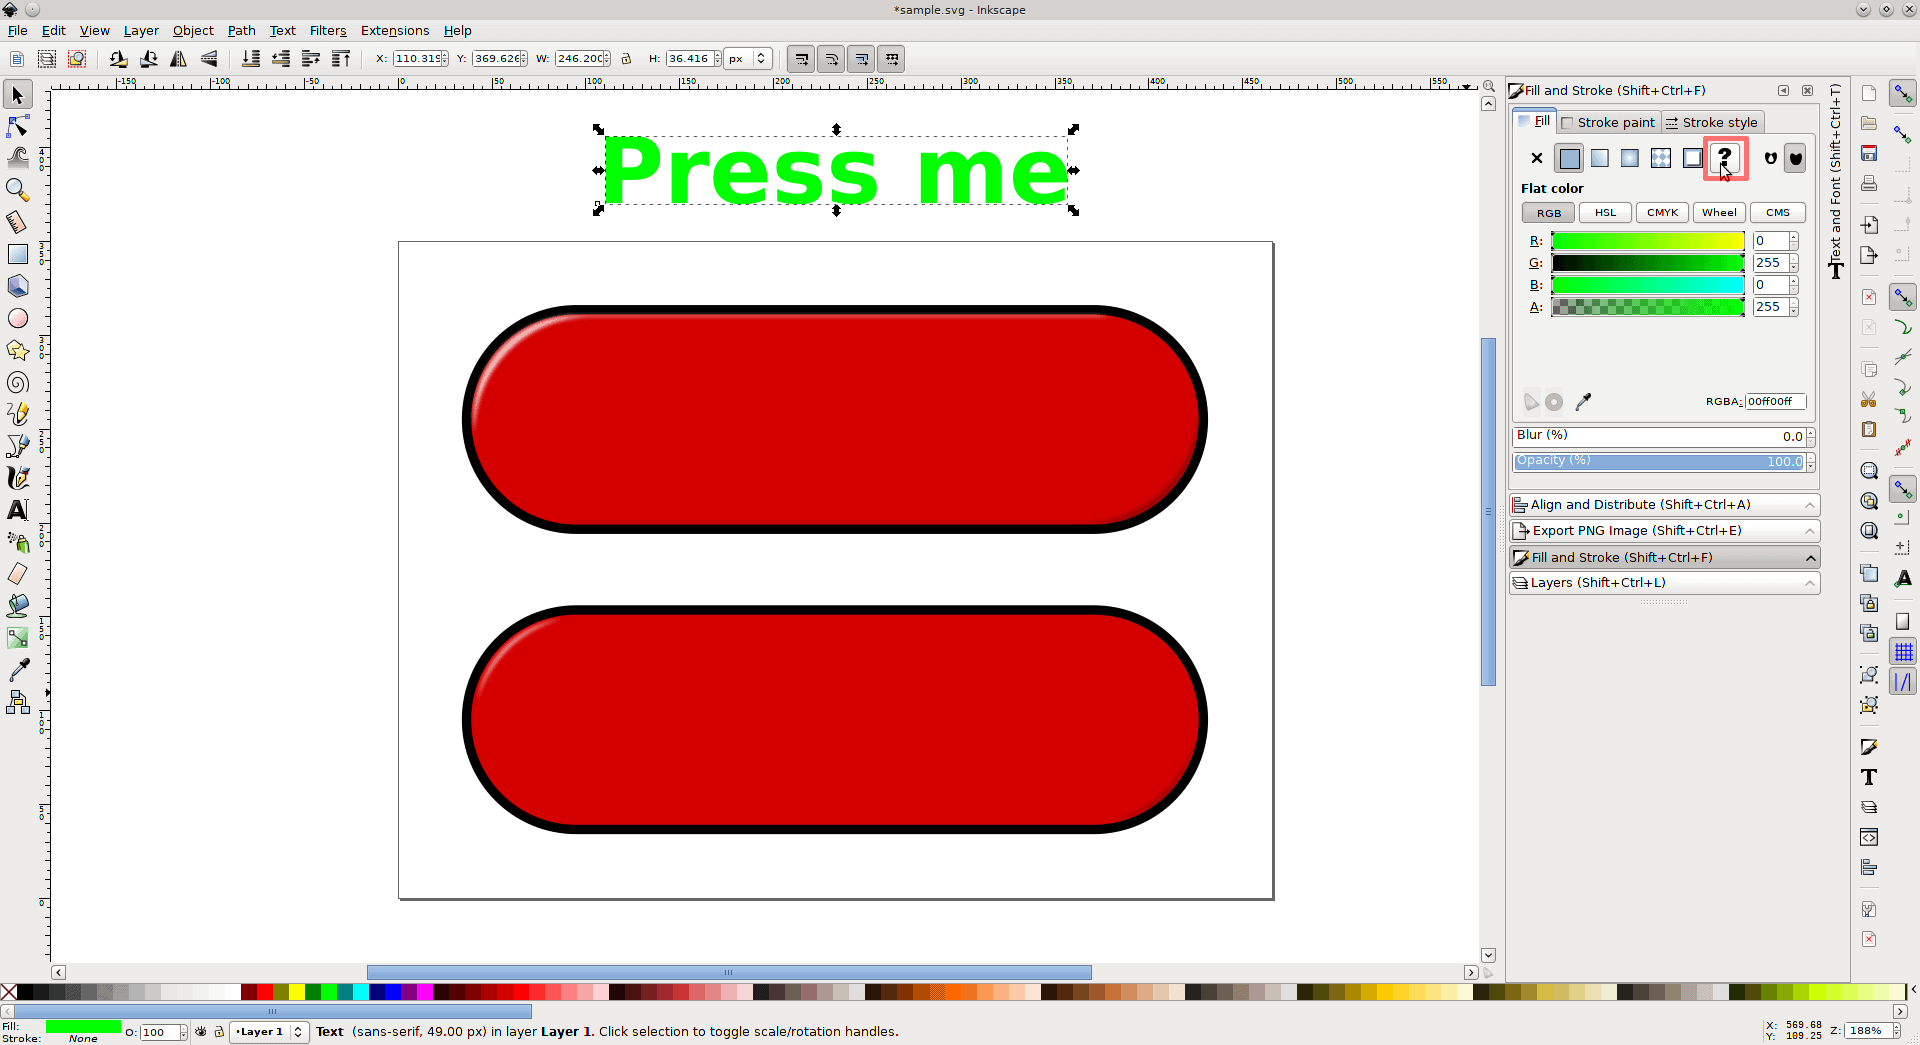
Figure 3: Create the text for your button and unset its fill and stroke attributes.
With the text selected, press [Alt] + [D] to create a clone. Center it in the middle of the top button. Change its colour to white. Notice that you are now allowed to do this directly on the clone. You don’t have to modify the original object to change the clone since you have unset the original object’s fill and stroke in the prior step, remember? Press [Ctrl] + [D] to create duplicate of the clone and center it within the second button.
The Phantom Shadow
You can now add an effect to the text in the first button to make it look 3D, for example. When the first button is clicked on your website, you can swap it for the image of the second button, making it look animated. I put a shadow within the text to make it look hollow (Figure 4). You can do this using the Filters > Shadows and Glows > Drop Shadow… option that allows you to adjust an inner shadow for your text.
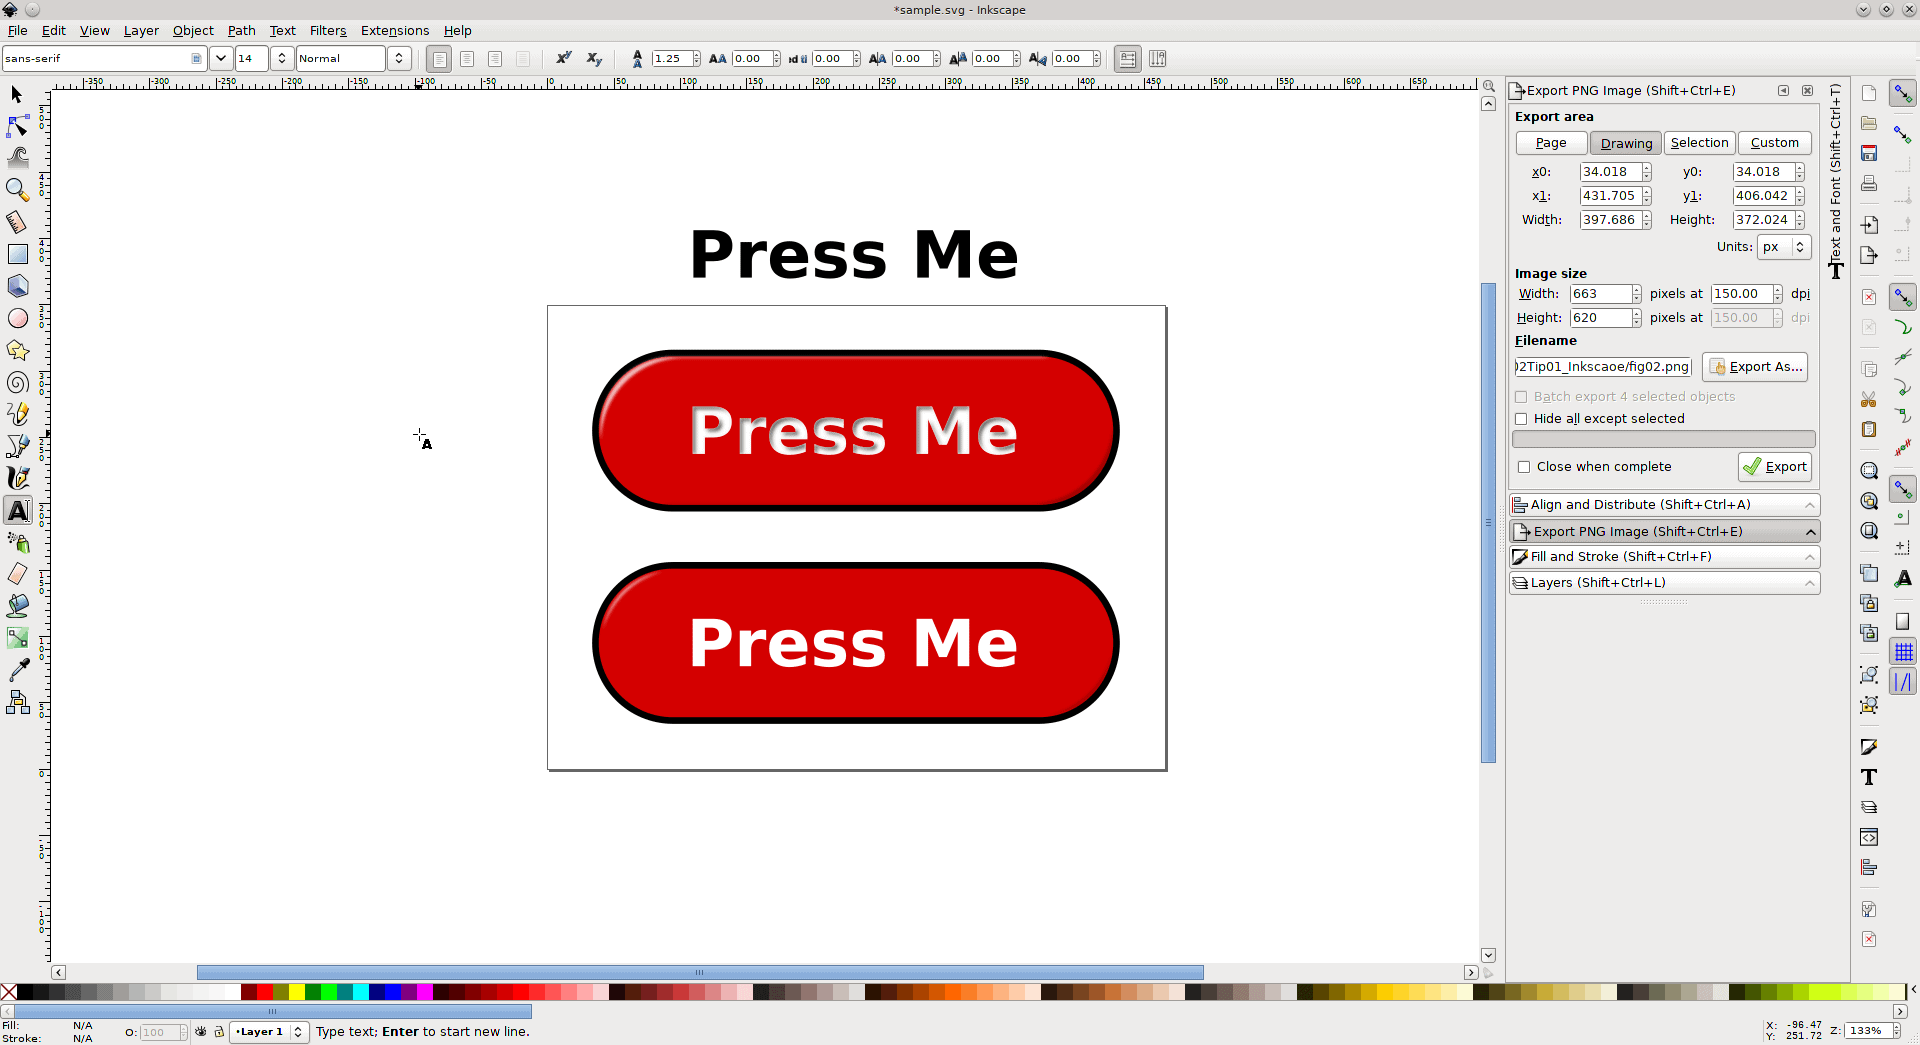
Figure 4: Apply a non-destructive effect to the text in the first button. In this case I made it look hollow.
Whatever you do, you want to keep the integrity of your text intact, i.e., don’t convert it to curves! And only use filters that do not mess up your text.
You want to do this because, and here’s the kicker, if you now need to make 50, 100 of these suckers, all with different texts, it’s no problem: edit the original text and the changes will cascade to both images of the button, shadows, effects and all. Even if you have to change the font so the buttons fit the new site’s style (Figure 5), with your clone templates you can push out dozens of these babies in minutes.
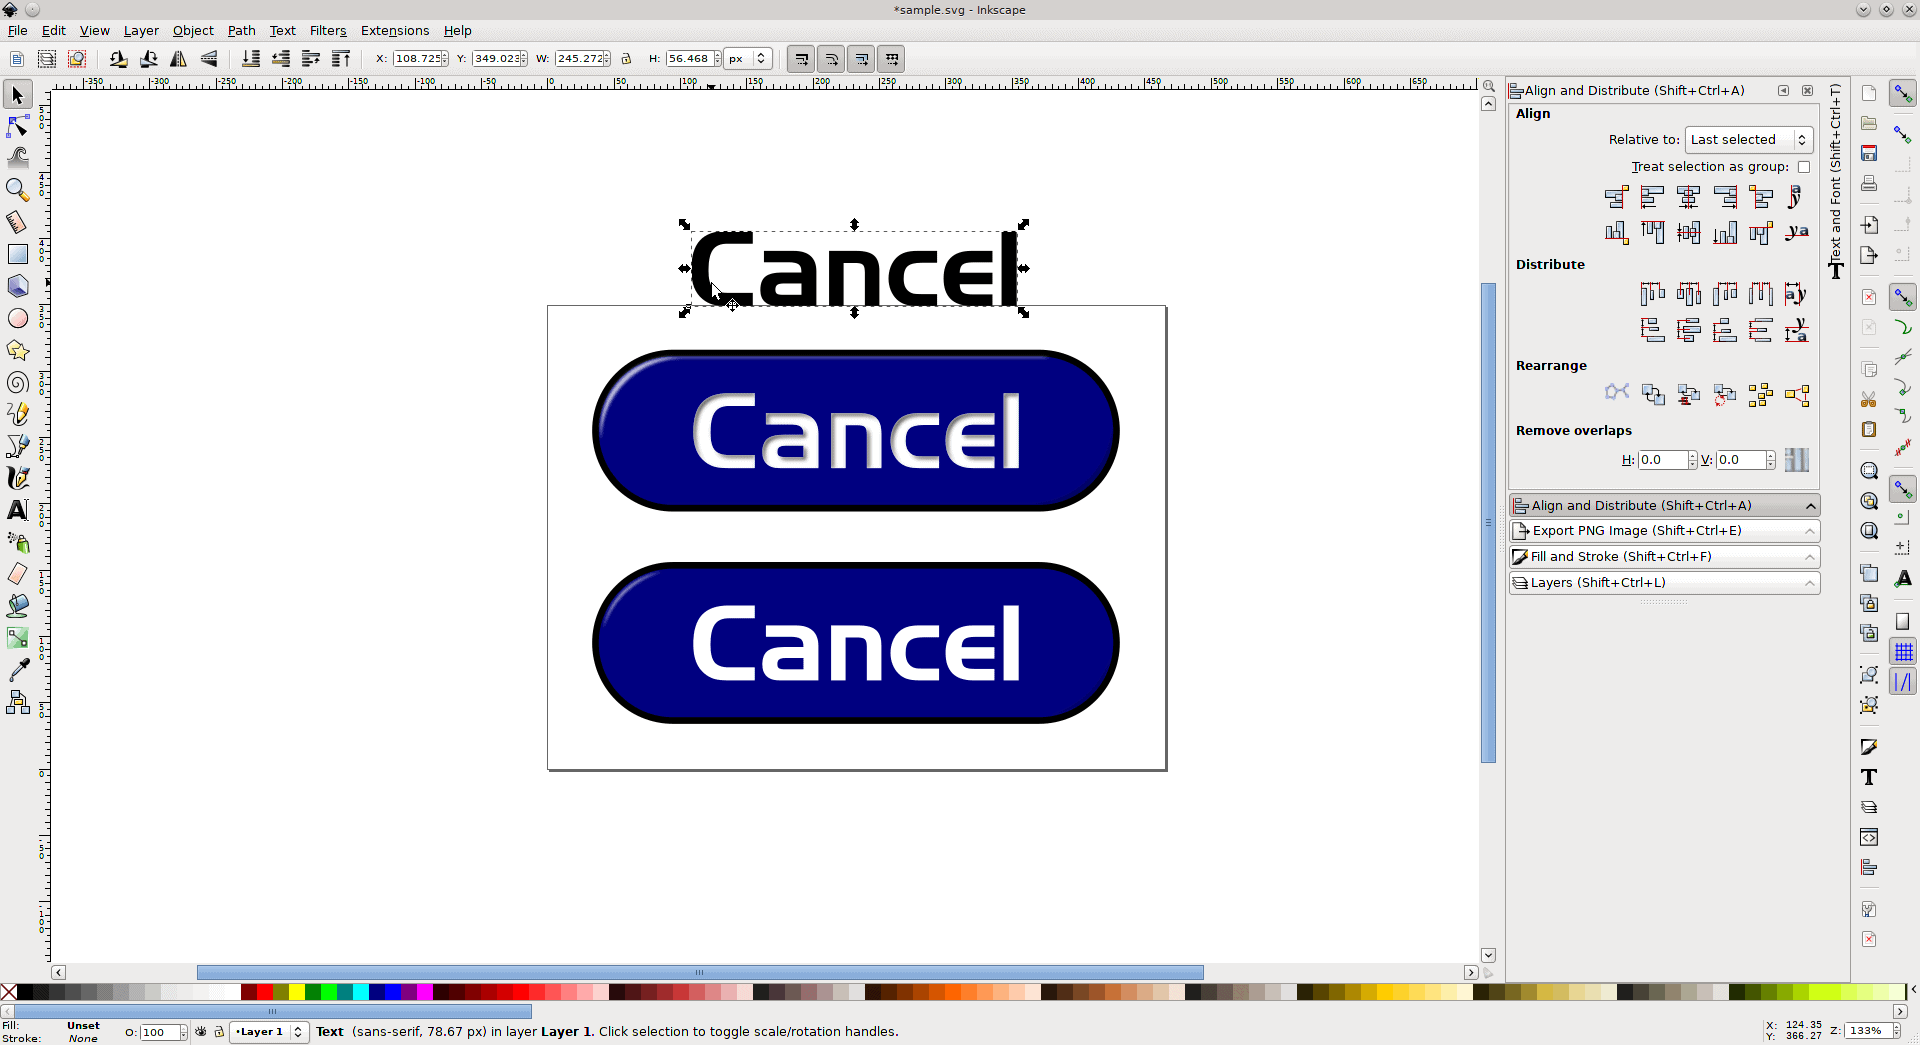
Figure 5: Using clone, changes to the original text allows you to create dozens of variations of your original design in minutes.
So, as you can see, a bit of initial legwork with Inkscape’s clone feature can save you a lot of work down the road.
And when the style of the 2000s comes rolling back around and rounded corners and fake 3D become all the rage again, you’ll be ready.

You know this will be a thing again someday.