
One of the greatest advantages of using KDE is the broad set of options to customize it to your liking. Unlike most desktop environments, either closed or open sourced, KDE, the power behind Netrunner’s interface, is not ashamed of treating its user as an individual and so it panders to their differences, instead of just doing it to their similarities, by offering an enormous array of customization options, all which can be discovered by the naked eye.
However, this approach has one down side: Its new users can be overwhelmed by the amount of features, they don’t know where to start. On this article, inaugurating our new series Tweaking Netrunner, we will guide the user through the basics of customizing their OS to make it theirs, by providing a set of clear explanations, accompanied by as much visual feedback as needed. By the end, we hope, the reader will not only be capable of doing what we described, but also find its way trough new options intuitively.
What is Plasma?
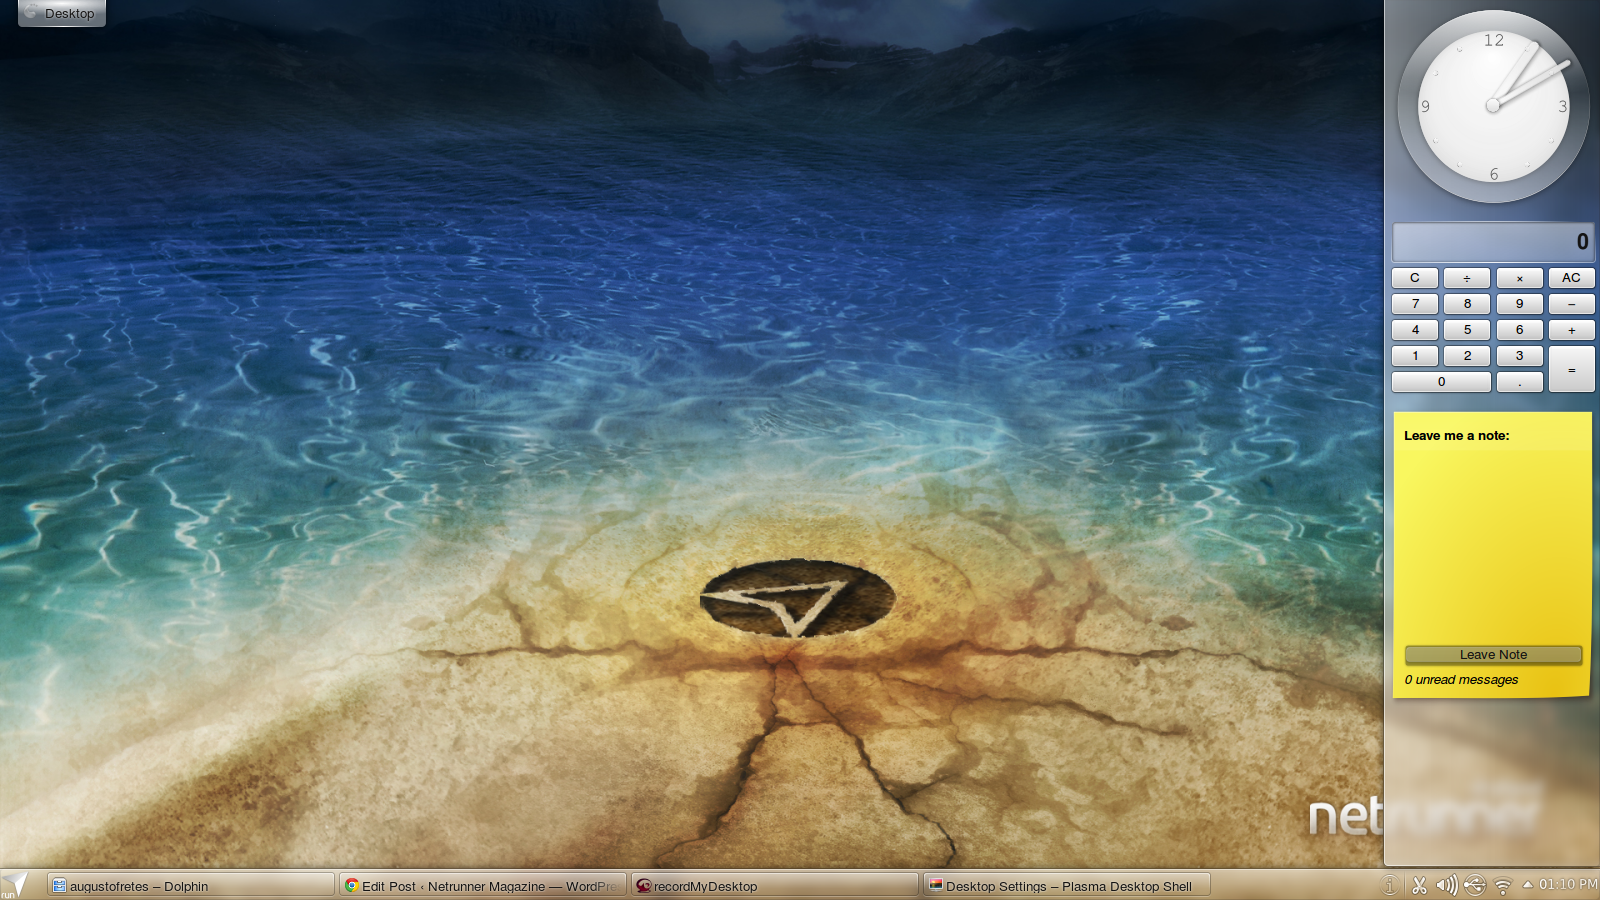
Plasma is the framework behind what you see when KDE starts, it’s the framework behind the panel on the bottom and everything inside it, from the main menu labeled “run” to the digital clock on the opposite side to your desktop icons.
While on most environments what is commonly known as the desktop, the gadgets (or widgets) and what is inside the panel (taskbar on Windows) are all separated things, Plasma unites them all, providing a level of customizability practically unparalleled.
Two different kind of plasma elements
First, we have plasma containers. The two most common forms are what is usually known as the desktop and the panel, we’ll see other kinds a bit later, the only thing you need to know about plasma containers is what its name suggests, they contain things, what bring us to the next thing you need to know:
Plasma widgets, formerly known as plasmoids, you can think of them as Mac OS X’ widgets, or Windows’ gadgets, the main difference is their adaptability, they can be put inside any container and their form will adapt accordingly. So while Windows has a special kind of clock specifically designed for their taskbar, and one widget specifically designed to be on the desktop, KDE can do the same with one gadget which will change its from depending on where you put it.
Tweaking Plasma: Basics
Note: When Widgets are locked, only the wallpaper and other minor things can be changed, from now on we’re assuming widgets are unlocked. Widgets can be unlocked by right-clicking and pressing “Unlock Widgets” or by clicking on the cashew and pressing the same button, locking is performed the same way.
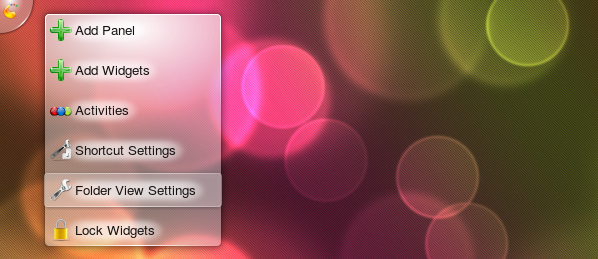
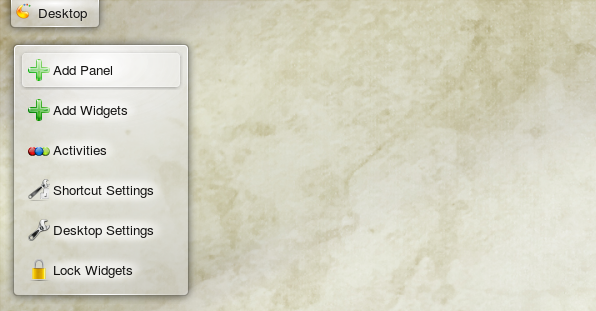
Changing the wallpaper is as easy as it is on any other environment, but the name might result a little bit obscure, you can access it from many places, by right clicking on the desktop and selecting Folder View Settings (this name may change, depending on the container, but by default this is how is named) or by clicking on Desktop’s cashew, which you will be clicking often to customize Plasma:
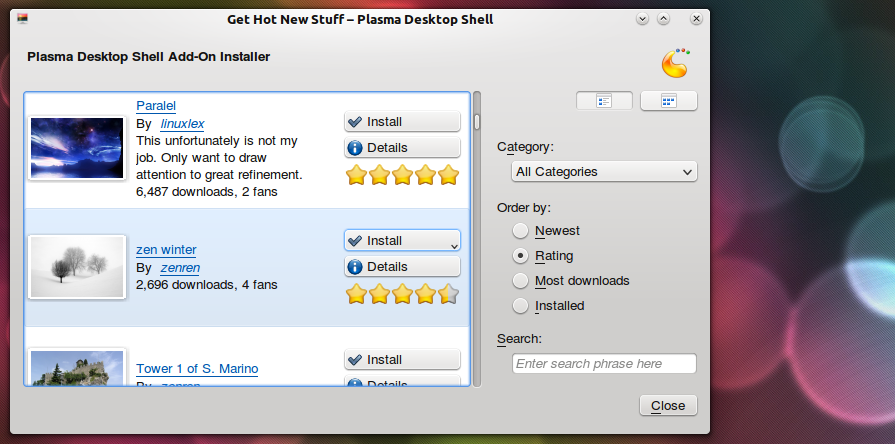
Under the first tab View, from top to bottom, you will be presented with: Layout, Wallpaper, Positioning, Color, a grid of your current wallpapers, install default wallpapers (this button won’t be present if you already installed them), Open and Get New Wallpapers. Almost all options are rather standard across all operating systems, except two, Layout, which we’ll deal with later, and the Get New feature, which is wide-spread all over KDE, always labeled “Get New (…)”, and internally known as GHNS (Get Hot New Stuff), it allows users to find new content, like wallpapers from KDE Look
On the second tab, Mouse Actions, you can set what each button of the mouse do when pressed, all option are self-explanatory, except for activities, although it is clear it will switch to a different activity, we haven’t explain what activities are, but don’t worry, we’ll get there.

On our third tab, location, you can set what folder should be displayed at the “Desktop”, all across all operating system and environments, the “Desktop” shows the desktop folder, on KDE you can choose to display any other folder like your home folder, this, I think, it’s a pretty likable feature, but as you will soon will discover is far from what KDE can do.
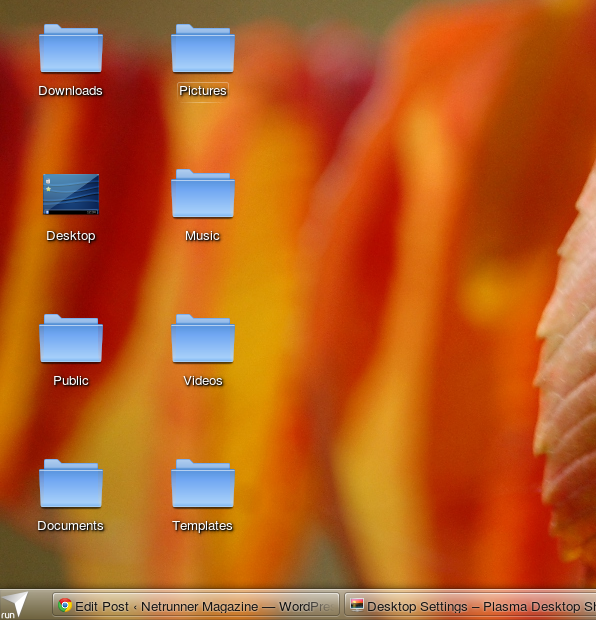
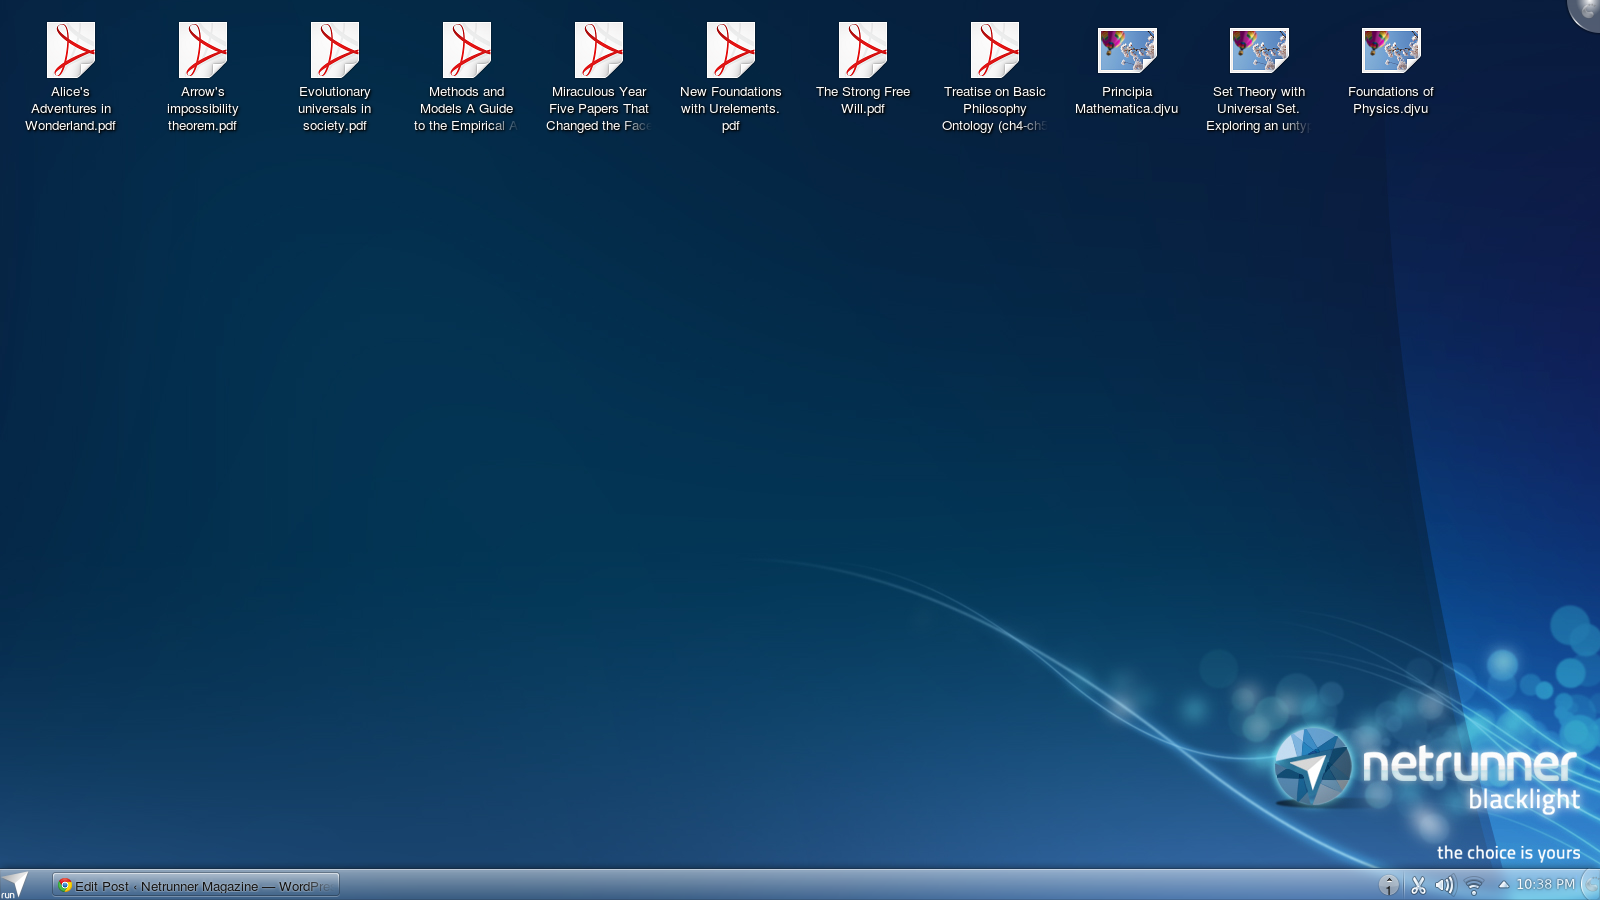
On the fourth tab, labeled Display, you can easily change the size of the icons, how folders are sorted, which files get a preview and the color of icon’s text. The fifth tab is a lot more interesting, and less simpler, named Filter it lets the user pick which type of files should be displayed at your desktop, this will prove to be a powerful ally in the future, but as of now, you can see how useful it can be if you set a crowded folder as your desktop folder,
It can go from this:
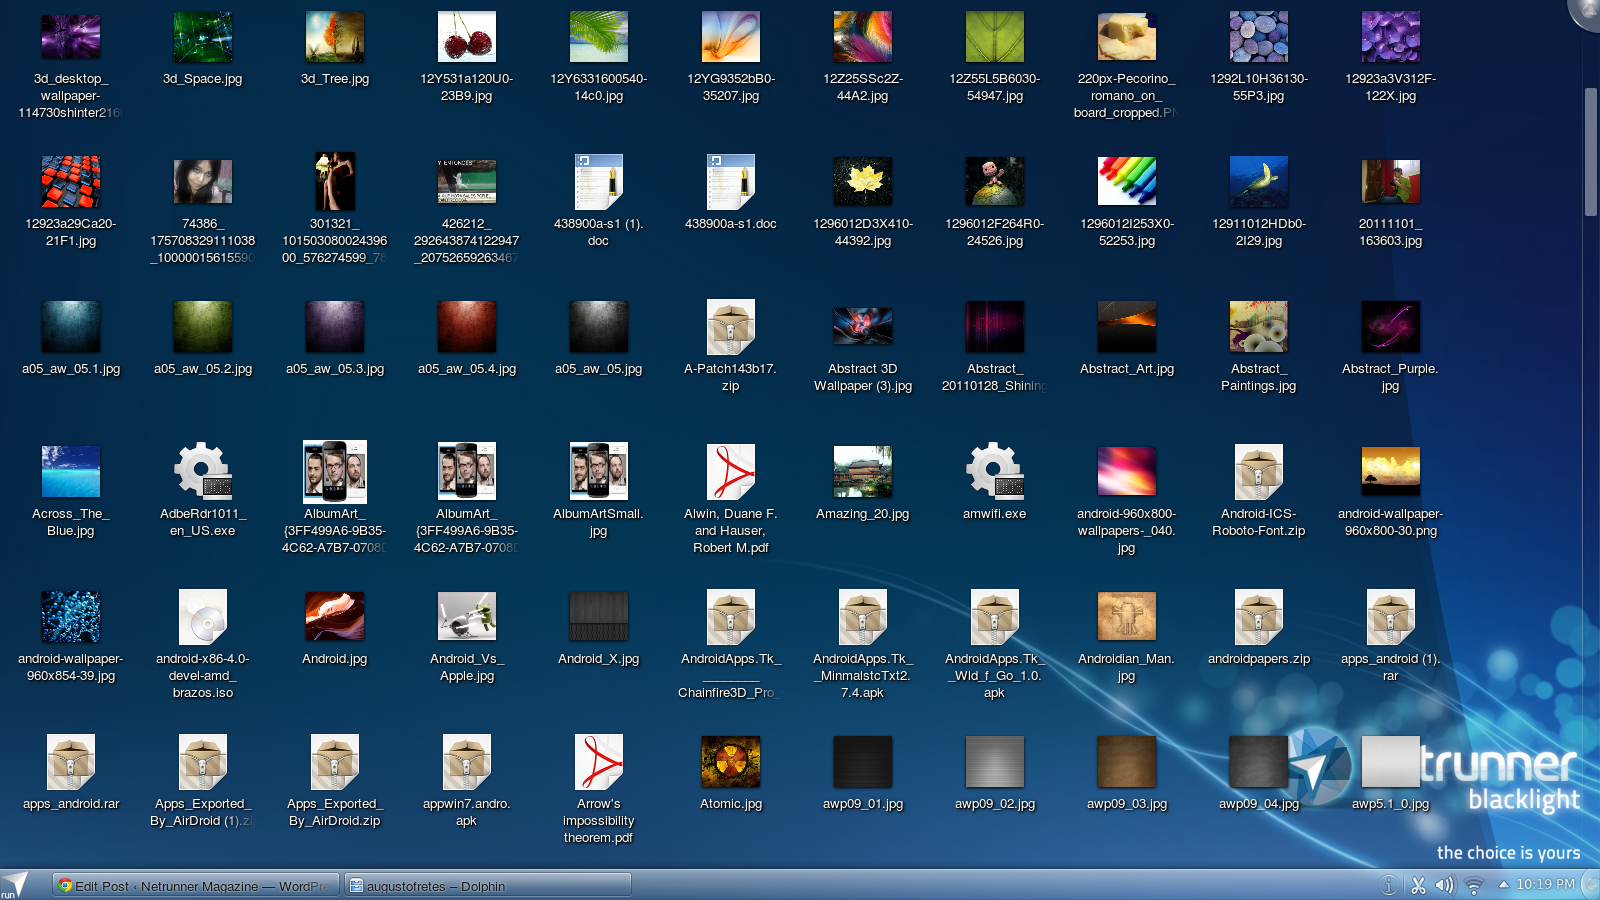
To this:
Tweaking Plasma: Panels
By default, Netrunner comes with one panel, but you can add as many panels as you wish, as it will become a trend, you can either do this by right-clicking on the desktop or using on the cashew and clicking on “Add Panels”. Panels are customizable in a number of ways, like size, position, hiding, among other things. While creating one, it will first prompt the user what he wants: An empty panel or a panel with all default widgets inside
KDE’s default Panel:
Click to enlarge
We won’t bother much with the default panel, as we obviously want to do something different, an empty panel is just a container waiting to be filled, but first we’ll see what can we change about the container itself. Each panel has its own cashew, which will offer the corresponding settings

Click to enlarge
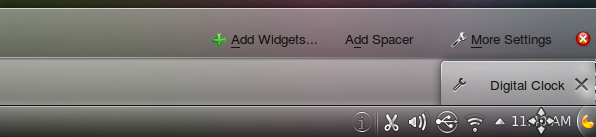
More settings
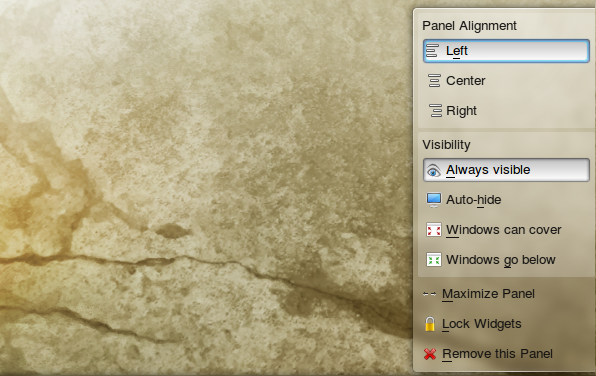
Clicking and dragging on screen edge allows us to move the panel to different sides, while clicking and dragging on height changes increases height. On the corner two handlers with arrows are visible, this handlers mark where the panel starts (Arrow down, left side), how big it is by default (arrow pointing to the right, right side), and how much it can expand if it needs to fit more content. More settings allow us to setup how exactly we want the panel to behave in relation to windows, and if we want it to be aligned to any position in particular.
Tweaking Plasma: Widgets
Now that we can change the settings of the two most common containers is time to fill them up. Adding Widgets to containers is really simple, either by right-clicking on the Desktop, or by clicking on panel’s or desktop’s cashew, and selecting “Add Widgets”. Widgets are then added by dragging them to either the panel or desktop.

On the desktop when you hover on Widgets a “menu” appears, with four buttons, from top to bottom: Resize, rotate, settings and remove widget. By clicking and dragging on the blank space of this menu you can move widgets

On the panel things are similar, once you click on panel’s cashew, if you hover over widgets you get a pop-up menu, by clicking and dragging on the blank space of the menu, or by clicking and dragging directly on the widget, you can move it, the two buttons from left to right are settings and remove widget.
Tweaking Plasma: Dashboard
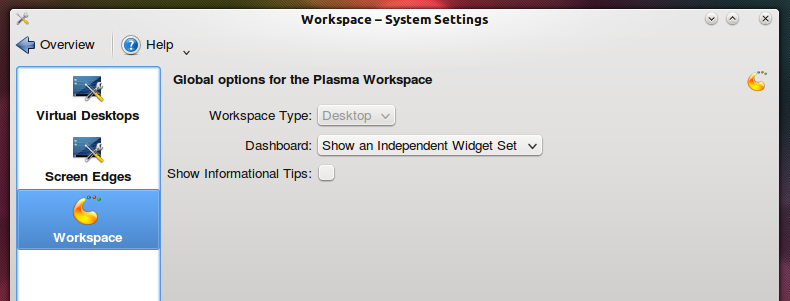
If you press Ctrl + F12, all widgets on your desktop will pop on top of any window currently on view, you can also set a hot corner on System Settings, Workspace Behavior, screen edges, click on the desired screen edge, pick “Show Dashboard”. By default, as I said, Dashboard will show all your desktop widgets, however, you can setup to show an independent set of widgets, by going to System Settings > Workspace Behavior > Workspace > Dashboard and picking Show an Independent Widget Set you can add Widgets exclusively to the Dashboard, this is pretty useful, since the information you want on the desktop and the information you want to be able to bring at any time may be different
Tweaking Plasma: Layouts
There are three different layouts for your desktop container, by default Netrunner ships using Folder View, which behaves like most desktops do, by showing the content of your desktop folder on your desktop. The Desktop layout is the same, except it doesn’t show your desktop folder. Aside from that, both are the same, you can add as many widgets as you want, move them around and resize them. The third desktop layout, named Newspaper, is a little different.
While using Newspaper you can’t resize, move widgets around or rotate them, they will automatically resize and position themselves in a space efficient manner, it is especially useful on small screens, as a result of this, Widgets change their behavior a little

You can see how widgets are automatically arrange in the following screenshot

Tweaking Plasma: Theming
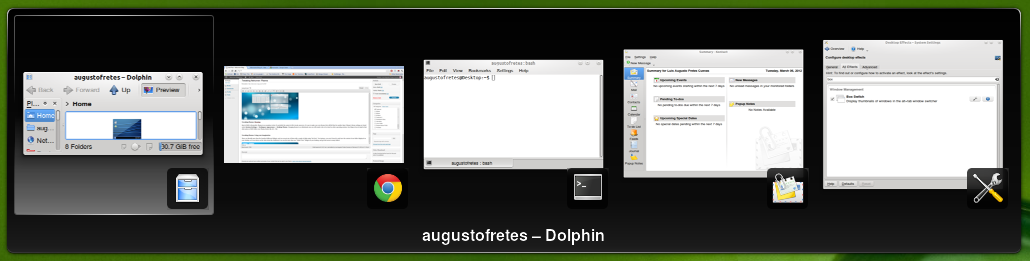
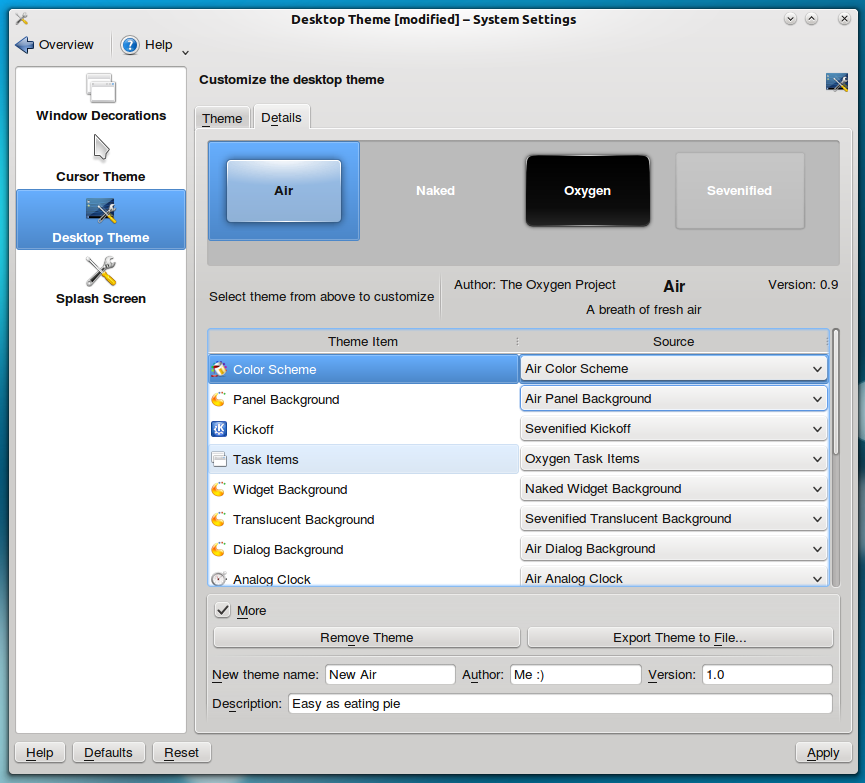
Most of KDE is themeable, Plasma is no exception, in fact, it’s probably the easiest of all to tweak, moreover, it’s easy to make your own themes (but will left that for another time). Plasma’s theme settings are found under System Settings > Workspace Appearance > Desktop Theme. Changing themes is so ridiculously easy you will wonder why is it so hard on other operating systems. One thing to bear in mind is that other pieces of KDE follow your Plasma theme, like Alt + Tab Box Switching
But this is KDE, so merely selecting themes is not personal enough, on the second tab labeled Details you can pick themes individually for different Plasma elements, including outsiders like Box Switch, after doing so you can save your new mix and, of you want to, share it with the world . Mixing up everything to your like is straight forward just pick what you want on each case and enjoy the result, however, there’s one trick, the Color Scheme will be followed by all of your subsequent selections so picking Air while using Oxygen’s color scheme results on a different look. We’ll learn how to tweak color schemes on a follow up showing how to make your own Plasma themes.
Tweaking Plasma: Using your imagination
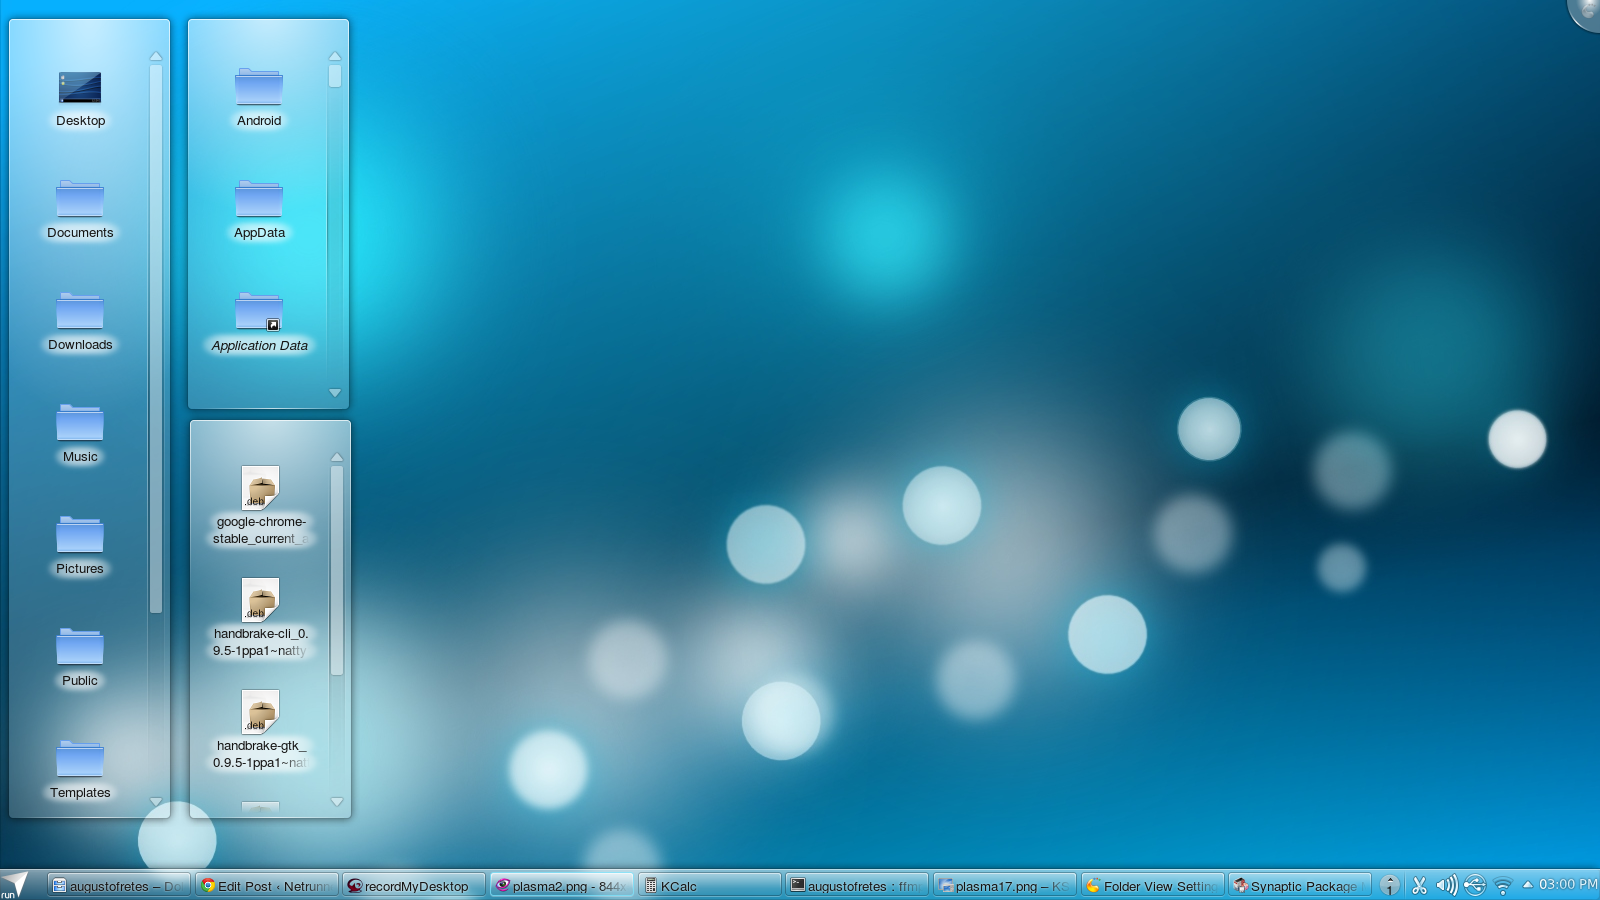
There are literally more than five hundred different Widgets, and you can get any of them with a couple of clicks using “Get New”. For instance, you aren’t forced to only have the content of one folder displayed on your desktop, by means of putting more than one “Folder View” Widget on your desktop, this can get you fast access to many folders
Often I hear people saying they miss Vista’s sidebar, you can easily recreate it using Netrunner and KDE. You just need a panel, a comfortable size, autohide, and drag and drop the widgets you want. This is just a very simple example of what can be done
As you can see Netrunner, powered by KDE, does as much as possible to help users tweak their system to match their own preferences, providing user facing settings and intuitive controls. By now, we hope, users will be able to make Netrunner look just like they want.

Nice article. I think I should at least give a try to Netrunner, although I have already tried LMKDE.
Pingback: Review: Kubuntu 12.04 | Netrunner Magazine
Pingback: Plasma just hit a “Homerun” | Netrunner Magazine
Thanks for a good article.
Yeah, I’m definitely getting KDE now :3